

After showing in my previous posts how to install Ollama, Open WebUI, LLaMA Factory, vLLM, ComfyUI, and the AI Toolkit on the Gigabyte AI TOP ATOM, here is another interesting alternative for everyone looking for a user-friendly GUI interface for local Large Language Models and who specifically does not want to use Ollama: LM Studio – an intuitive desktop application with an integrated chat interface and OpenAI-compatible API, which is now also available for Linux ARM64.
In this post, I will show you how I installed LM Studio on my Gigabyte AI TOP ATOM and configured it so that it is accessible throughout the network as a private LLM server. LM Studio utilizes the GPU performance of the Blackwell GPU and offers both a graphical user interface and an OpenAI-compatible API for integration into your own applications. Since the AI TOP ATOM system from Gigabyte is based on the same platform as the NVIDIA DGX Spark, the official LM Studio installation instructions work here as well.
Note: For my field reports here on my blog, I was loaned the Gigabyte AI TOP ATOM by the company MIFCOM.
The Basic Idea: User-friendly GUI with Integrated Chat Interface and API Server
Before I dive into the technical details, an important point: LM Studio is a desktop application that provides both a graphical user interface for direct chatting with LLMs and an integrated API server that can be made accessible over the network. Unlike pure command-line tools or web interfaces, LM Studio offers a native desktop application that feels like a standard software application.
The special thing about it: LM Studio now supports Linux ARM64 (aarch64), which means it runs directly on the Gigabyte AI TOP ATOM. The application uses a new variant of the llama.cpp engine with CUDA 13 support, which is perfect for the Blackwell architecture. You can use LM Studio locally on the AI TOP ATOM as well as configure it as a private LLM server for your entire network.
What you need for this:
-
A Gigabyte AI TOP ATOM, ASUS Ascent, MSI EdgeXpert (or NVIDIA DGX Spark) connected to the network
-
A connected monitor or terminal access to the AI TOP ATOM
-
Basic knowledge of terminal commands
-
At least 20 GB of free storage space for the AppImage file and model downloads
-
An internet connection to download the LM Studio AppImage and models
-
Optional: A computer on the same network for API testing
Phase 1: Checking System Requirements
For the rest of this guide, I am assuming that you are sitting directly in front of the AI TOP ATOM with a monitor, keyboard, and mouse connected. First, I check if all necessary system requirements are met. To do this, I open a terminal on my AI TOP ATOM and execute the following commands.
The following command shows you if the CUDA Toolkit is installed:
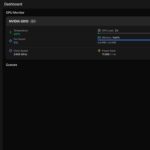
Command: nvidia-smi
You should now see the GPU information. If not, you must first install the NVIDIA drivers.
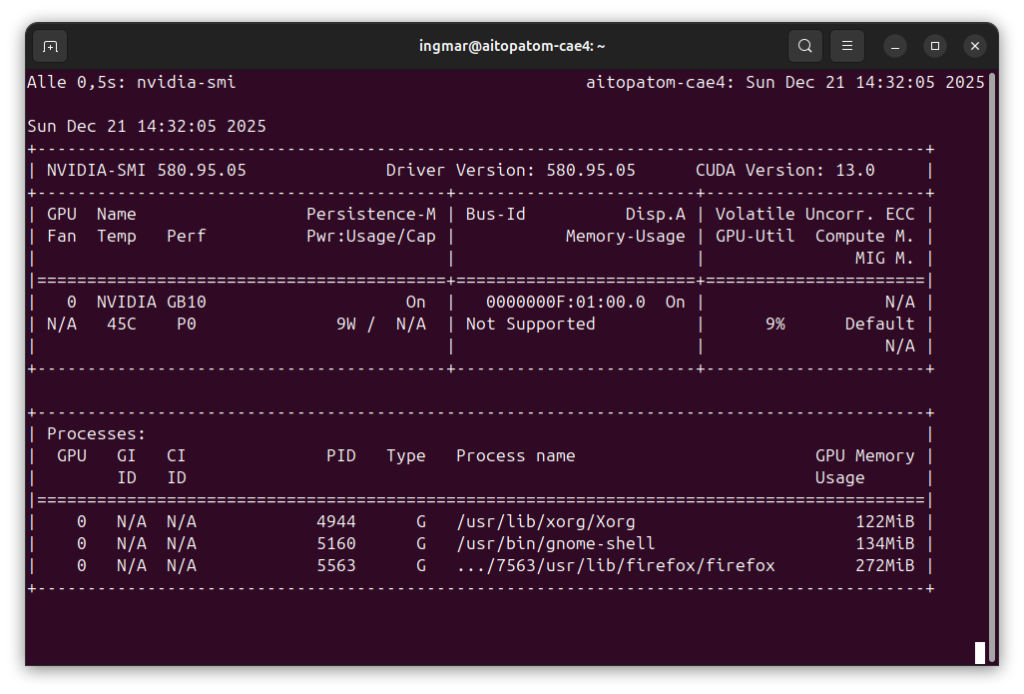
GIGABYTE AI TOP ATOM – NVIDIA-SMI
Phase 2: Download LM Studio AppImage
LM Studio is provided as an AppImage file for Linux ARM64. An AppImage is a portable application that requires no installation – simply download, make it executable, and start. First, I create a directory for LM Studio:
Command: mkdir -p ~/lm-studio
Command: cd ~/lm-studio
Now I download the LM Studio Linux ARM64 AppImage from the official download page:
Command: wget https://lmstudio.ai/download/latest/linux/arm64 -O LM_Studio-linux-arm64.AppImage
Note: If the direct download link does not work, visit the official LM Studio download page and select the Linux ARM64 version manually.
After downloading, I make the AppImage file executable:
Command: chmod +x LM_Studio-linux-arm64.AppImage
The AppImage file is now ready to start. Depending on your internet speed, the download may take a few minutes – the file is approximately 200-300 MB.
Phase 3: Start LM Studio
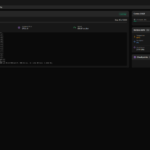
Now I can start LM Studio. Since it is a GUI application, you need a desktop environment, so you must be sitting in front of the Gigabyte AI TOP ATOM. I had to pass --no-sandbox because I received an error message stating that special root privileges were required.
Command: ./LM_Studio-linux-arm64.AppImage --no-sandbox
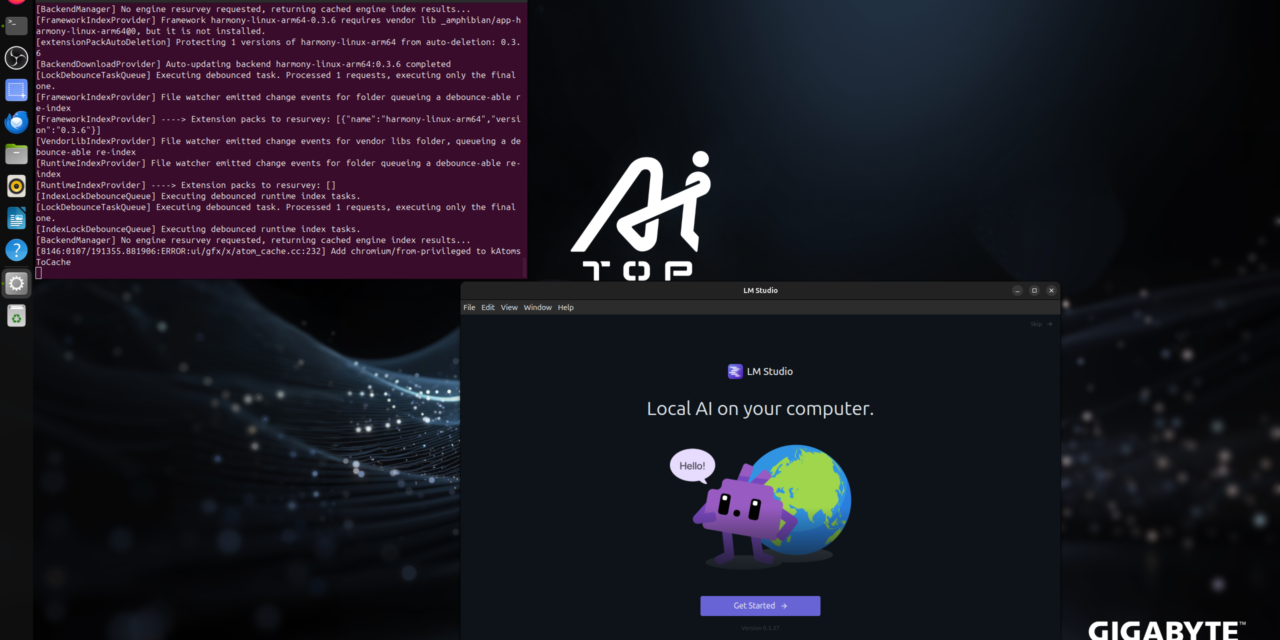
Upon the first start, it may take a few seconds for the application to load. LM Studio then opens with the main interface, which offers various tabs: Chat, Models, Server, and Developer.
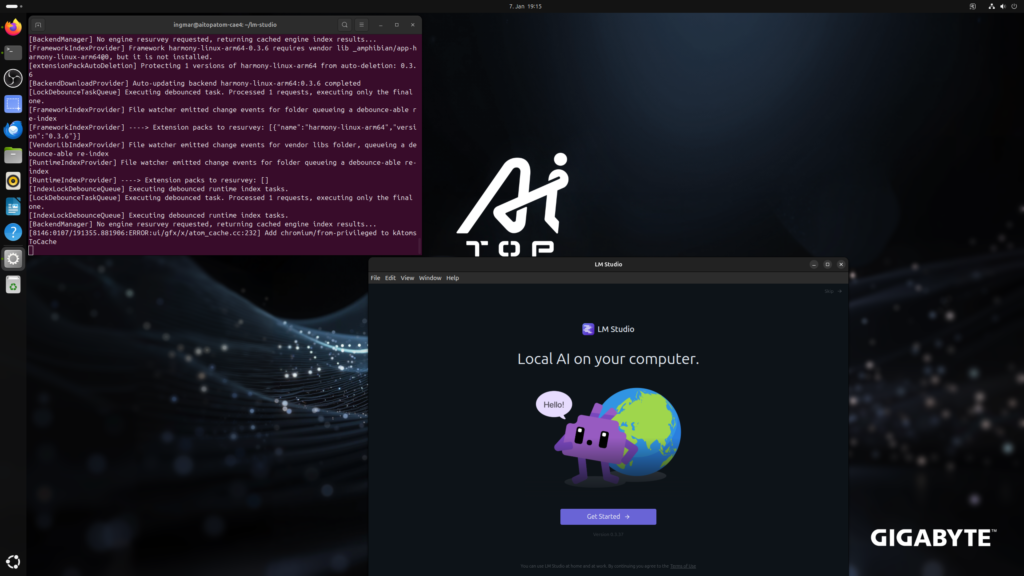
GIGABYTE AI TOP ATOM – LM-Studio first start
Phase 4: Download Model
Before you can chat with LM Studio, you must download a model. LM Studio offers an integrated model library through which you can download models directly from within the application. Alternatively, you can also download models via the command line using the LM Studio CLI.
For the command-line installation, I use the LM Studio CLI tool lms, which is included with the AppImage. First, I check if the CLI is available:
Command: ./LM_Studio-linux-arm64.AppImage --help
To download a model, I searched for suitable models within LM Studio and downloaded them via the interface. Open the “Models” tab in LM Studio, search for a model like “gpt-oss” or “Qwen3 Coder” and click “Download”.
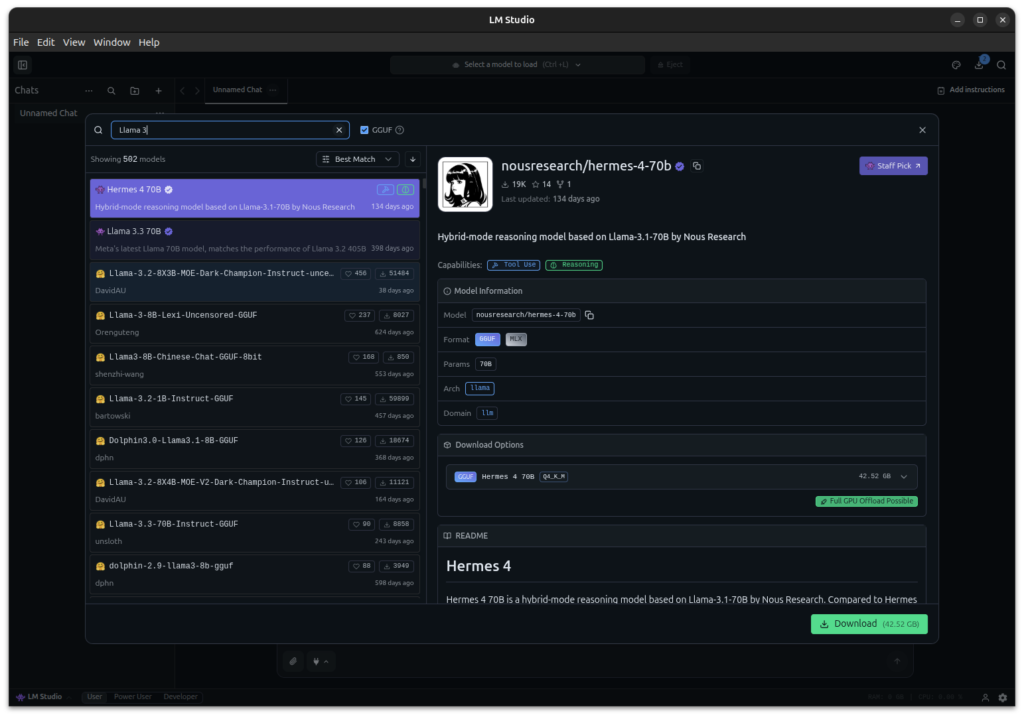
GIGABYTE AI TOP ATOM – LLM Model download
Or alternatively via the CLI:
Command: ./LM_Studio-linux-arm64.AppImage get openai/gpt-oss-20b
Depending on the model size and your internet connection, the download can take from a few minutes to several hours. The models are stored locally on the AI TOP ATOM and do not need to be redownloaded every time you start.
Recommended models for getting started:
-
openai/gpt-oss-20b– Well-balanced model for general tasks -
Qwen/Qwen3-Coder– Optimized for code generation -
Qwen/Qwen2.5-32B– Very powerful, optimized for Blackwell GPUs
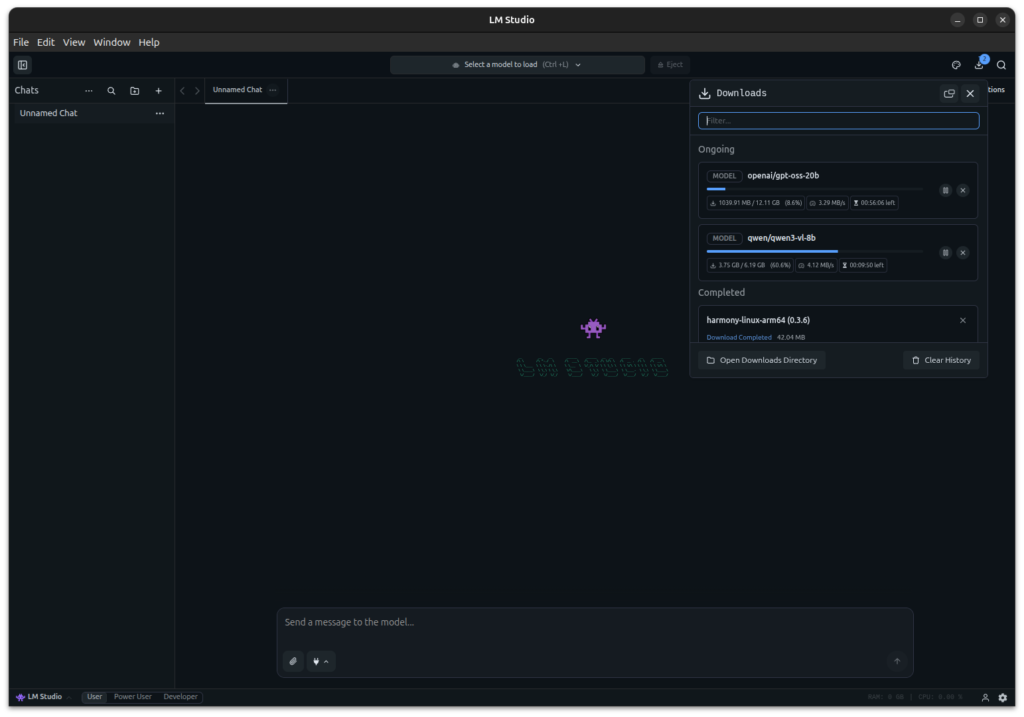
GIGABYTE AI TOP ATOM – LM-Studio – active download
After I downloaded qwen3-vl-8b, I could immediately ask the LLM my question: “Why is the sky blue?”.

GIGABYTE AI TOP ATOM – LM-Studio
Phase 5: Start LM Studio as an LLM Server (optional)
Now comes the optional step where you start LM Studio as a server: I configure LM Studio so that the LLM server is accessible throughout the network. There are two ways to start the server:
Option 1: Via the GUI
In the LM Studio GUI, I open the “Developer” tab and activate the “Serve on Local Network” option in the server settings. This allows other devices on the network to access the LLM server of the AI TOP ATOM.
In the server settings, you can see the IP address and the port the server is running on. By default, this is port 1234.
Option 2: Via the Command Line
Alternatively, you can also start the server directly via the command line:
Command: ./LM_Studio-linux-arm64.AppImage server start
To use a different port:
Command: ./LM_Studio-linux-arm64.AppImage server start --port 1234
The server now starts and is accessible by default on all network interfaces (0.0.0.0).
Important Note: If a firewall is active, you must open port 1234:
Command: sudo ufw allow 1234
Phase 6: Test Network Access (optional)
First, I check the IP address of my AI TOP ATOM on the network:
Command: hostname -I
I note down the IP address (e.g., 192.168.2.100). Now I test from another computer on the network if the server is reachable:
Command: curl http://<IP-Address-AI-TOP-ATOM>:1234/v1/models
Replace <IP-Address-AI-TOP-ATOM> with the IP address of your AI TOP ATOM. If you receive a list of available models, the network configuration is working correctly.
Phase 7: Test API Access from the Network (optional)
Now I can access the LM Studio API from any computer in my network. To test if everything is working, I run the following command from another machine on the network:
curl http://192.168.2.100:1234/v1/chat/completions -H "Content-Type: application/json" -d '{
  "model": "openai/gpt-oss-20b",
  "messages": [{
    "role": "user",
    "content": "Write me a haiku about GPUs and AI."
  }],
  "max_tokens": 500
}'
If everything is configured correctly, I should receive a JSON response that looks something like this:
{
  "id": "chatcmpl-...",
  "object": "chat.completion",
  "created": 1234567890,
  "model": "openai/gpt-oss-20b",
  "choices": [{
    "index": 0,
    "message": {
      "role": "assistant",
      "content": "Silicon flows through circuits\nDreams become reality\nAI wakes to life"
    },
    "finish_reason": "stop"
  }]
}
Troubleshooting: Common Problems and Solutions
During my time with LM Studio on the AI TOP ATOM, I encountered some typical problems. Here are the most common ones and how I solved them:
-
AppImage does not start: Check if the file was made executable with
chmod +x LM_Studio-linux-arm64.AppImage. If the AppImage still doesn’t start, check if FUSE is installed:sudo apt install fuse. -
GUI is not displayed: If you are connected via SSH, you need X11 forwarding or a desktop environment on the AI TOP ATOM. Alternatively, use the command-line version of the server.
-
Server is not reachable on the network: Check if “Serve on Local Network” is activated in the Developer settings. Also check the firewall settings and ensure that port 1234 is opened.
-
Model download fails: Check the internet connection. If you have trouble with the download, you can also manually download models from Hugging Face and copy them into the LM Studio model directory.
-
CUDA support not available: LM Studio uses CUDA 13. Check with
nvidia-smiif the GPU is recognized. If not, install the NVIDIA drivers. -
Slow inference: The model might be too large for the available GPU memory. Try a smaller model or check the GPU usage with
nvidia-smi.
Start LM Studio as a Server Automatically (optional)
If you want to start LM Studio as a server automatically upon system boot, you can create a systemd service. First, I create a service file:
Command: sudo nano /etc/systemd/system/lm-studio.service
Insert the following content (replace /home/username with your actual username and the path to the AppImage):
[Unit]
Description=LM Studio LLM Server
After=network.target

[Service]
Type=simple
User=username
WorkingDirectory=/home/username/lm-studio
ExecStart=/home/username/lm-studio/LM_Studio-linux-arm64.AppImage server start --port 1234
Restart=always
RestartSec=10

[Install]
WantedBy=multi-user.target
Save the file and activate the service:
Command: sudo systemctl daemon-reload
Command: sudo systemctl enable lm-studio
Command: sudo systemctl start lm-studio
The service now starts automatically after every reboot.
Rollback: Removing LM Studio
If you want to completely remove LM Studio from the AI TOP ATOM, execute the following commands on the system:
First, stop the server (if it’s running) with Ctrl+C or:
Command: sudo systemctl stop lm-studio
Remove the AppImage file:
Command: rm -rf ~/lm-studio
If you created a systemd service:
Command: sudo systemctl disable lm-studio
Command: sudo rm /etc/systemd/system/lm-studio.service
Command: sudo systemctl daemon-reload
Important Note: These commands remove LM Studio, but not the downloaded models. The models remain in the LM Studio model directory in case you want to use them again later.
Summary & Conclusion
The installation of LM Studio on the Gigabyte AI TOP ATOM is surprisingly straightforward thanks to compatibility with NVIDIA DGX Spark playbooks. In less than 15 minutes, I had LM Studio set up and can now both chat locally with the GUI and use the LLM server across the entire network.
What particularly excites me: The user-friendly GUI interface makes it easy to download models and chat directly without complex configurations or API calls. The OpenAI-compatible API allows for seamless integration of existing applications, and CUDA 13 support utilizes the full performance of the Blackwell architecture.
I also find it particularly practical that LM Studio can be operated both as a desktop application and as a server. The AppImage installation is portable and easy to manage – no complex dependencies or system changes required.
For teams or anyone looking for an intuitive interface for local LLMs, this is a perfect solution: A central server with full GPU power that everyone can access via the OpenAI-compatible API. The GUI makes it easy to manage models and chat directly, while the API enables integration into your own applications.
If you have questions or encounter problems, feel free to check the official NVIDIA DGX Spark documentation or the LM Studio documentation. The community is very helpful, and most problems can be solved quickly.
Next Step: Try Out Models and Integrate into Your Own Applications
You have now successfully installed LM Studio and exposed the server to the network. The basic installation works, but this is only the beginning. Experiment with different models and use the OpenAI-compatible API to integrate LM Studio into your own applications.
The LM Studio SDKs for Python and JavaScript make it easy to incorporate the server into existing projects. Try out different models and find out which one best suits your requirements.
Good luck experimenting with LM Studio on your Gigabyte AI TOP ATOM. I am excited to see what applications you develop with it! Let me and my readers know here in the comments.
“`


The tutorial offers a clear and practical guide for setting up and running the Tensorflow Object Detection Training Suite. Could…
This works using an very old laptop with old GPU >>> print(torch.cuda.is_available()) True >>> print(torch.version.cuda) 12.6 >>> print(torch.cuda.device_count()) 1 >>>…
Hello Valentin, I will not share anything related to my work on detecting mines or UXO's. Best regards, Maker
Hello, We are a group of students at ESILV working on a project that aim to prove the availability of…