

After showing you how to install Ollama and Open WebUI on the Gigabyte AI TOP ATOM in my previous posts, now comes something for everyone who wants to experiment with AI-generated images and short AI-generated videos: ComfyUI – a powerful, node-based interface for creating AI images with diffusion models like Stable Diffusion, SDXL, or Flux.
In this post, I’ll show you how I installed ComfyUI on my Gigabyte AI TOP ATOM and configured it so that it’s accessible across the entire network. ComfyUI takes full advantage of the GPU performance of the Blackwell architecture and allows you to create complex workflows for image generation – all locally on your own server. Since the system is based on the same platform as the NVIDIA DGX Spark, the official NVIDIA playbooks work just as reliably here.
The exciting question for me is whether I can really install custom workflows or if I will hit the limits of the ARM architecture used by NVIDIA.
GIGABYTE AI TOP ATOM – ComfyUI wanmove
The Basic Idea: Node-based image generation for your own local network
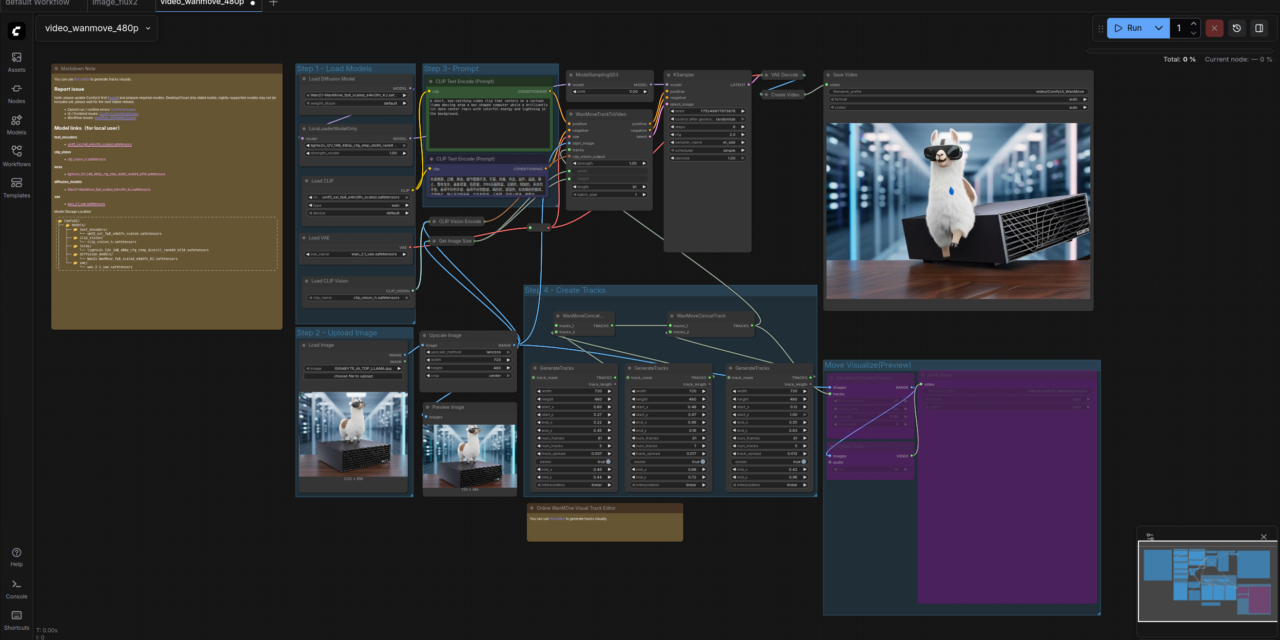
Before I dive into the technical details, one important point: ComfyUI is a web application that runs directly on the Gigabyte AI TOP ATOM and uses the GPU performance of the Blackwell architecture to generate images with Stable Diffusion models. Unlike simple image generation tools, ComfyUI uses a node-based system: each step of image generation (loading a model, entering text, setting sampling parameters) is represented as a node that you connect to one another to create complex workflows.
What’s special about it: These workflows are saved as JSON files, so you can version, share, and reproduce them. This makes ComfyUI particularly interesting for anyone who wants to work seriously with AI image generation – whether for creative projects, prototyping, or even commercial applications.
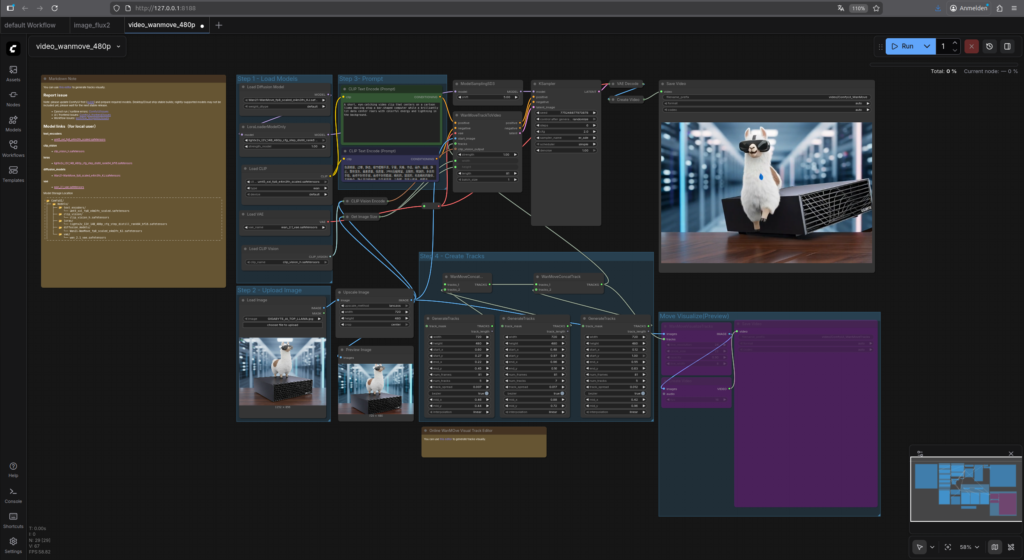
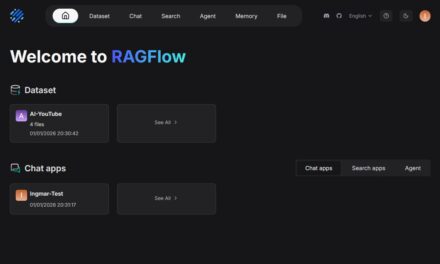
The ComfyUI Marketplace or Browser for Custom Workflows integrated into ComfyUI makes it all the more interesting as you can learn and experiment very quickly.
<Insert image of browser>
What you need for this:
-
A Gigabyte AI TOP ATOM, ASUS Ascent, MSI EdgeXpert (or NVIDIA DGX Spark) connected to the network
-
A connected monitor or terminal access to the AI TOP ATOM
-
A computer on the same network with a modern browser (optional but recommended)
-
Basic knowledge of terminal commands and Python
-
At least 20 GB of free storage space for models and dependencies, but more is better.
-
The IP address of your AI TOP ATOM in the network (found with
ip addrorhostname -I)
Phase 1: Check System Requirements
For the rest of my instructions, I am assuming that you are sitting directly in front of the AI TOP ATOM with a monitor, keyboard, and mouse connected. First, I’ll check if all necessary system requirements are met. To do this, I open a terminal on my AI TOP ATOM and run the following commands.
The following command shows you if Python 3 is installed and which version is running.
Command: python3 --version
You should see Python 3.8 or higher. Next, I check if pip is available:
Command: pip3 --version
Now I check if the CUDA Toolkit is installed:
Command: nvcc --version
And finally, I check if the GPU is recognized:
Command: nvidia-smi
You should now see the GPU information, similar to my previous Ollama blog post. If any of these commands fail, you must install the corresponding components first.
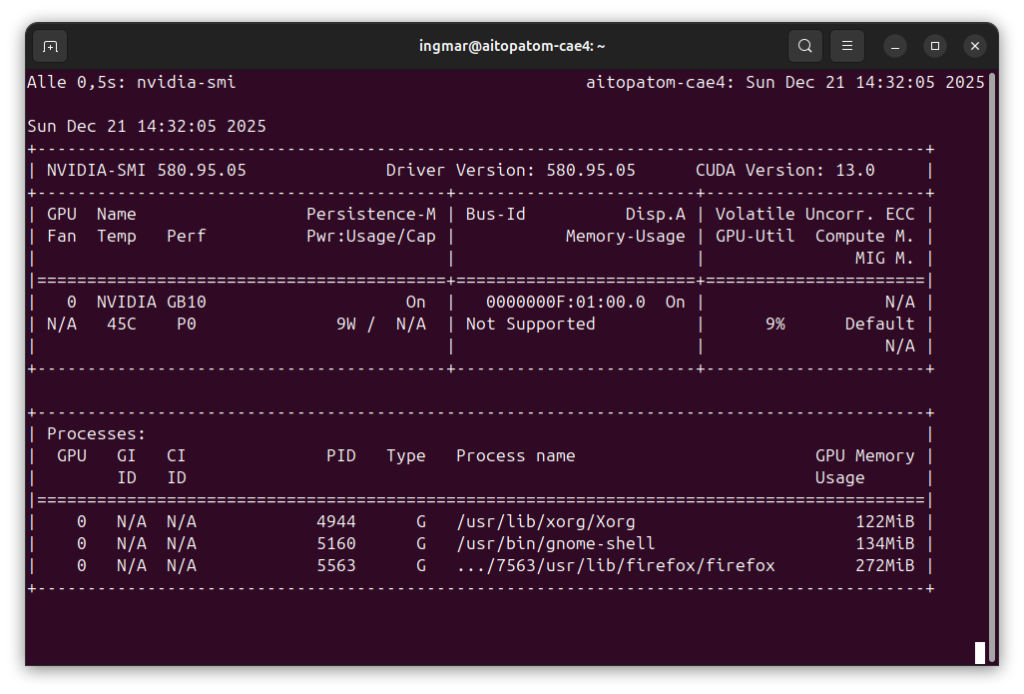
GIGABYTE AI TOP ATOM – NVIDIA-SMI
Phase 2: Clone the ComfyUI Repository
Now I download the ComfyUI source code from the official GitHub repository:
Command: git clone https://github.com/comfyanonymous/ComfyUI.git
After cloning, I switch to the ComfyUI directory:
Command: cd ComfyUI/
The repository contains all necessary files for ComfyUI, including web interface components and model handling libraries.
Phase 3: Create a Python Virtual Environment
To avoid conflicts with system packages, I create an isolated Python virtual environment for ComfyUI. This is a best practice and also makes it easier to remove ComfyUI later if necessary.
If you are not already in the ComfyUI/ folder, switch to the folder.
Command: cd ComfyUI/
Now I have the virtual environment created.
Command: python3 -m venv comfyui-env
Now I activate the virtual environment:
Command: source comfyui-env/bin/activate
You should now see (comfyui-env) in the terminal prompt – this indicates that the virtual environment is active. If not, check if the command was executed correctly.

GIGABYTE AI TOP ATOM – preparation
Phase 4: Install PyTorch with CUDA Support
ComfyUI requires PyTorch with CUDA support to use the GPU. For the Blackwell architecture on the AI TOP ATOM, I install PyTorch with CUDA 13.0 support:
Command: pip3 install torch torchvision --index-url https://download.pytorch.org/whl/cu130
This installation can take a few minutes as PyTorch is a large package. I just let the download run and do something else in the meantime. The installation is specifically optimized for CUDA 13.0, which works perfectly with the Blackwell architecture.
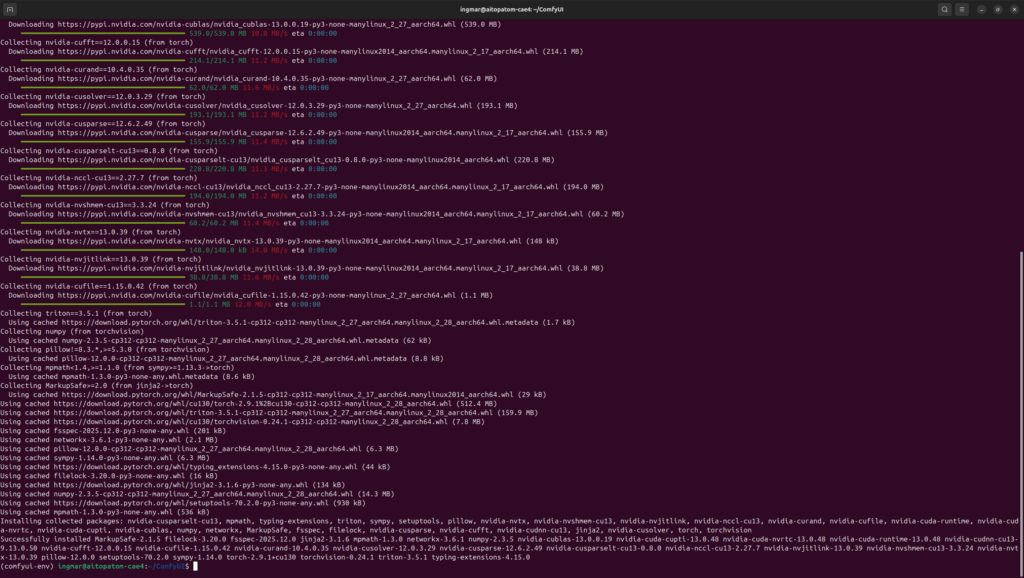
GIGABYTE AI TOP ATOM – torch installation
Phase 5: Install ComfyUI Dependencies
Now I install all necessary Python packages for ComfyUI. The repository contains a requirements.txt file with all required dependencies:
Command: pip install -r requirements.txt
Command: pip install -r manager_requirements.txt
This installation can also take a few minutes as many packages need to be downloaded. I just let the process run and wait until all packages are installed.
Phase 6: Download Stable Diffusion Checkpoint
To be able to generate images, ComfyUI needs a model. I download the Stable Diffusion 1.5 model, which is a good entry point. First, I switch to the checkpoints directory:
Command: cd models/checkpoints/
Now I download the model from Hugging Face:
Command: wget https://huggingface.co/Comfy-Org/stable-diffusion-v1-5-archive/resolve/main/v1-5-pruned-emaonly-fp16.safetensors
The model is about 2 GB in size and can take several minutes depending on internet speed. You will see a progress bar during the download. After the download, I switch back to the main directory:
Command: cd ../../
Important Note: Make sure enough storage space is available on your AI TOP ATOM. If the download aborts with a memory error, you can also add more models later or use smaller models.
Click here for Part 3 of the installation and configuration guide.


The tutorial offers a clear and practical guide for setting up and running the Tensorflow Object Detection Training Suite. Could…
This works using an very old laptop with old GPU >>> print(torch.cuda.is_available()) True >>> print(torch.version.cuda) 12.6 >>> print(torch.cuda.device_count()) 1 >>>…
Hello Valentin, I will not share anything related to my work on detecting mines or UXO's. Best regards, Maker
Hello, We are a group of students at ESILV working on a project that aim to prove the availability of…