

After showing how to install Ollama, Open WebUI, and ComfyUI on the Gigabyte AI TOP ATOM in my previous posts, now comes something for everyone who wants to adapt their own language models and make them individual: LLaMA Factory – an open-source framework that simplifies the fine-tuning of Large Language Models and supports methods such as LoRA, QLoRA, and Full Fine-Tuning. For my field reports, I was loaned a system by the company MIFCOM, a specialist for high-performance and gaming computers from Munich.
In this post, I will show you how I installed and configured LLaMA Factory on my Gigabyte AI TOP ATOM to adapt language models like LLaMA, Mistral, or Qwen for specific tasks. LLaMA Factory utilizes the full GPU performance of the Blackwell architecture and allows you to train models using various fine-tuning methods. Mind you, everything is intended to run locally on your own AI TOP ATOM or your own NVIDIA DGX Spark. Since Gigabyte’s AI TOP ATOM system is based on the same platform as the NVIDIA DGX Spark, the official NVIDIA playbooks work just as reliably here.
The Basic Idea: Adapting Your Own Language Models for Special Tasks
Before I dive into the technical details, an important point: LLaMA Factory is a framework that significantly simplifies the fine-tuning of Large Language Models. Unlike complex manual setups, LLaMA Factory offers a unified interface for various fine-tuning methods such as Supervised Fine-Tuning (SFT), Reinforcement Learning from Human Feedback (RLHF), and Quantized LoRA (QLoRA).
The special thing about it: LLaMA Factory supports a wide range of LLM architectures such as LLaMA, Mistral, Qwen, and many more. You can adapt your models for specific domains – whether for code generation, medical applications, or special corporate requirements. Installation is done via Docker using the NVIDIA PyTorch container, which already includes CUDA support and all necessary libraries.
What you need for this:
-
A Gigabyte AI TOP ATOM, ASUS Ascent, MSI EdgeXpert (or NVIDIA DGX Spark) connected to the network
-
A connected monitor or terminal access to the AI TOP ATOM
-
Docker installed and configured for GPU access
-
Basic knowledge of terminal commands, Docker, and Python
-
At least 50 GB of free storage space for models, checkpoints, and training data
-
An internet connection to download models from the Hugging Face Hub
-
Optional: A Hugging Face account for gated models (models with access restrictions)
Phase 1: Check System Requirements
For the rest of my instructions, I am assuming that you are sitting directly in front of the AI TOP ATOM or the NVIDIA DGX Spark with a monitor, keyboard, and mouse connected. First, I check whether all necessary system requirements are met. To do this, I open a terminal on my AI TOP ATOM and execute the following commands.
The following command shows you if the CUDA Toolkit is installed:
Command: nvcc --version
You should see CUDA 12.9 or higher. Next, I check if Docker is installed:
Command: docker --version
Now I use the following command to check if Docker has GPU access. A few GB will be downloaded, but you will save that time later because the same Docker container is required for LLaMA Factory.
Command: docker run --gpus all nvcr.io/nvidia/pytorch:25.11-py3 nvidia-smi
This command starts a test container and displays the GPU information. If Docker is not yet configured for GPU access, you must set that up first. Also check Python and Git:
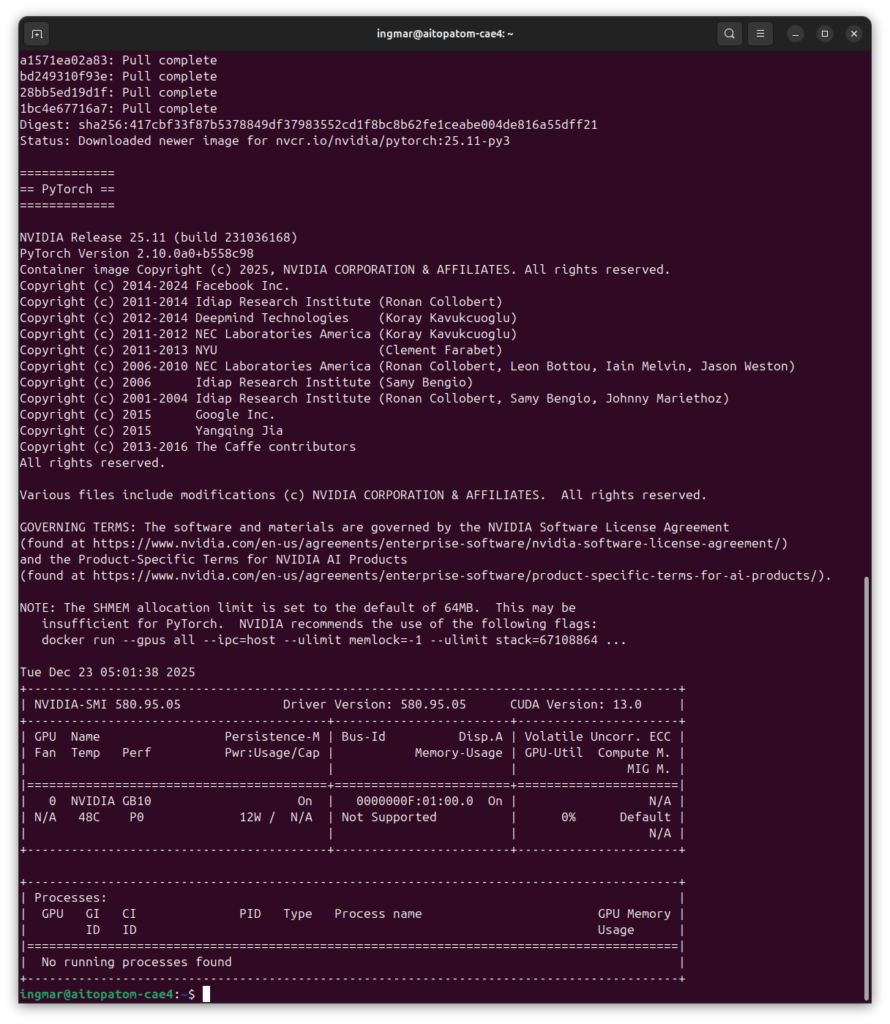
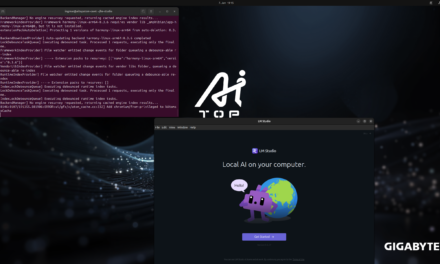
GIGABYTE AI TOP ATOM – LLaMA Factory Docker Container test
Command: python3 --version
Command: git --version
And finally, I check if the GPU is detected:
Command: nvidia-smi
You should now see the GPU information. If any of these commands fail, you must install the corresponding components first.
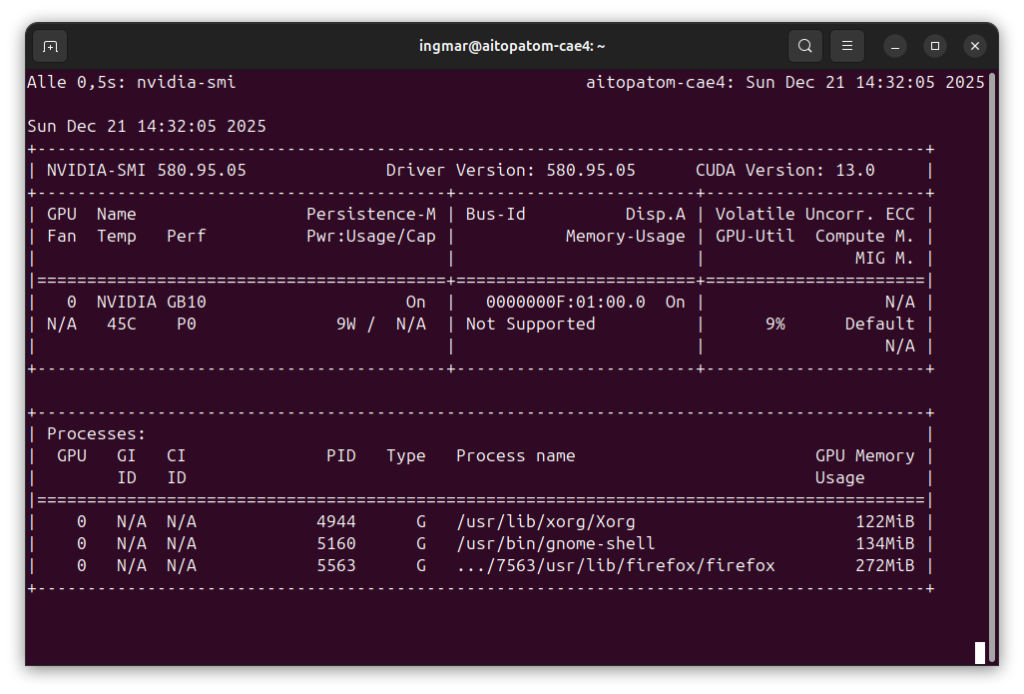
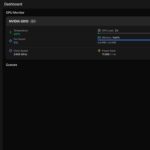
GIGABYTE AI TOP ATOM – NVIDIA-SMI
Phase 2: Start NVIDIA PyTorch Container with GPU Support
LLaMA Factory runs in a Docker container that already contains PyTorch with CUDA support. This makes installation much easier, as we don’t have to worry about Python dependencies. First, I create a working directory:
Command: mkdir -p ~/llama-factory-workspace
Command: cd ~/llama-factory-workspace
NVIDIA PyTorch Container:
Next comes the exciting part of the project. Now I start the NVIDIA PyTorch container with GPU access and mount the working directory. Important: I use a name for the container (--name llama-factory) and omit --rm so that the container is preserved even after a restart:
Command: docker run --gpus all --ipc=host --ulimit memlock=-1 -it --ulimit stack=67108864 --name llama-factory -p 7862:7860 -v "$PWD":/workspace nvcr.io/nvidia/pytorch:25.11-py3 bash
This command starts the container and opens an interactive bash session. The container supports CUDA 13 and is specifically optimized for the Blackwell architecture. The parameters --ipc=host and --ulimit are important for GPU performance and memory management.
After starting, you will see a new prompt showing that you are now inside the container. All following commands are executed within the container.
Important Note: If the container already exists (e.g., after a restart), start it with: docker start -ai llama-factory. To get back into a running container: docker exec -it llama-factory bash.
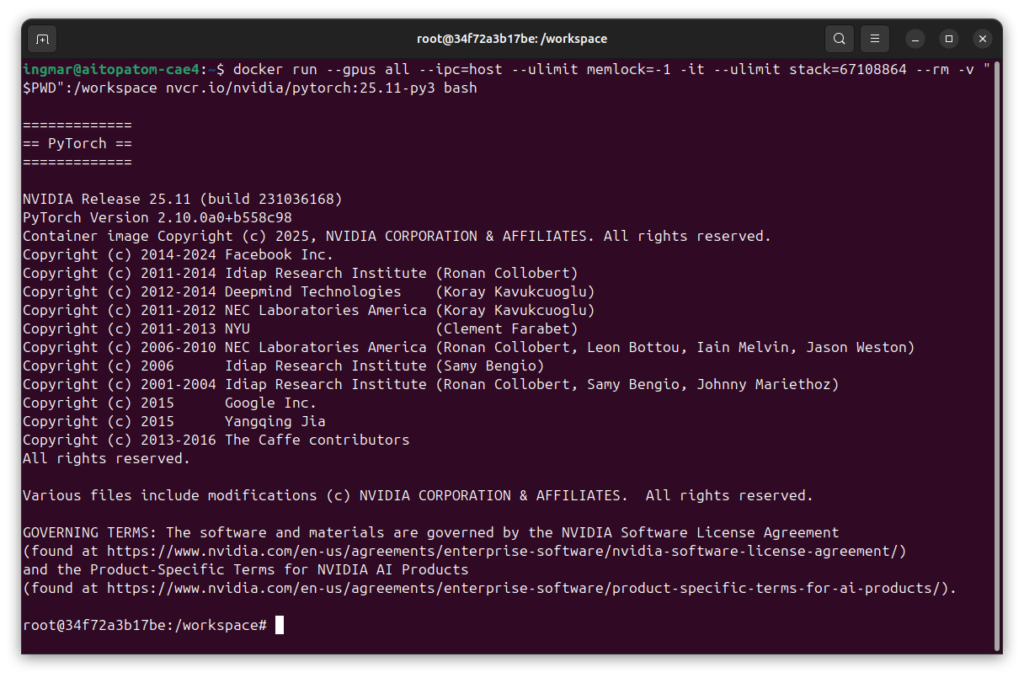
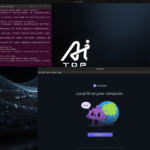
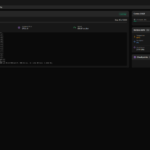
GIGABYTE AI TOP ATOM – LLaMA Factory Docker Container CLI
Phase 3: Clone LLaMA Factory Repository
Now I download the LLaMA Factory source code from the official GitHub repository. Since we are in the container, everything is saved in the mounted workspace directory:
Command: git clone --depth 1 https://github.com/hiyouga/LLaMA-Factory.git
The parameter --depth 1 only downloads the latest version, which is faster. After cloning, I switch to the LLaMA Factory directory:
Command: cd LLaMA-Factory
The repository contains all necessary files for LLaMA Factory, including sample configurations and training scripts.
Phase 4: Install LLaMA Factory with Dependencies
Now I install LLaMA Factory in editable mode with metrics support for training evaluation:
Command: pip install -e ".[metrics]"
This installation can take several minutes as many packages need to be downloaded. The parameter -e installs LLaMA Factory in editable mode, so that changes to the code take effect immediately. The option [metrics] installs additional packages for training metrics.
I didn’t see anything interesting in the terminal window here besides “Successfully installed….” and therefore did not insert a picture here.
Phase 5: Check PyTorch CUDA Support
PyTorch is already pre-installed in the container, but I’ll check anyway if CUDA support is available:
Command: python -c "import torch; print(f'PyTorch: {torch.__version__}, CUDA: {torch.cuda.is_available()}')"
You should see an output that looks something like this:
PyTorch: 2.10.0a0+b558c986e8.nv25.11, CUDA: TruePhase 6: Prepare Training Configuration
LLaMA Factory uses YAML configuration files for training. I’ll look at the example configuration for LoRA fine-tuning with Llama-3:
Command: cat examples/train_lora/llama3_lora_sft.yaml
This configuration contains all necessary parameters for training: model name, dataset, batch size, learning rate, and much more. You can copy this file and adapt it to your own requirements.
Important Note: For your first training, I recommend using the sample configuration unchanged first to ensure that everything is working.
Proceed to Part 2 of the setup and configuration manual here.


The tutorial offers a clear and practical guide for setting up and running the Tensorflow Object Detection Training Suite. Could…
This works using an very old laptop with old GPU >>> print(torch.cuda.is_available()) True >>> print(torch.version.cuda) 12.6 >>> print(torch.cuda.device_count()) 1 >>>…
Hello Valentin, I will not share anything related to my work on detecting mines or UXO's. Best regards, Maker
Hello, We are a group of students at ESILV working on a project that aim to prove the availability of…