


Why NemoClaw is moving into my AI workshop
Over the past few weeks I’ve shown you in several posts how I’m building up my own AI infrastructure piece by piece: a local inference server with two RTX A6000 GPUs running Ollama, an ESP-Claw agent on a Guition JC1060P470 as an embedded agent, and my own MCP server for GPU monitoring. Everything local, no cloud, everything in my own AI workshop.
Now another building block joins the family: NVIDIA NemoClaw. This is a sandboxed environment for OpenClaw agents that NVIDIA has been providing as an Early Preview since March 2026 usind NVIDIA OpenShell. The concept is intriguing: an AI agent runs in an isolated sandbox with its own network policies and capability restrictions, and inference is routed through a gateway to the actual LLM provider. In other words: I can use my own Ollama server as the inference backend and at the same time enjoy the convenience of a complete agent environment.
In this post I’ll walk you through step by step how I set up NemoClaw on a fresh Ubuntu 24.04 install, and deliberately on a machine without a GPU. The inference work is handled by my existing Ollama server (192.168.2.57). So for me, NemoClaw isn’t a “GPU needs GPU” project but rather a lean agent layer that leverages my existing inference hardware.
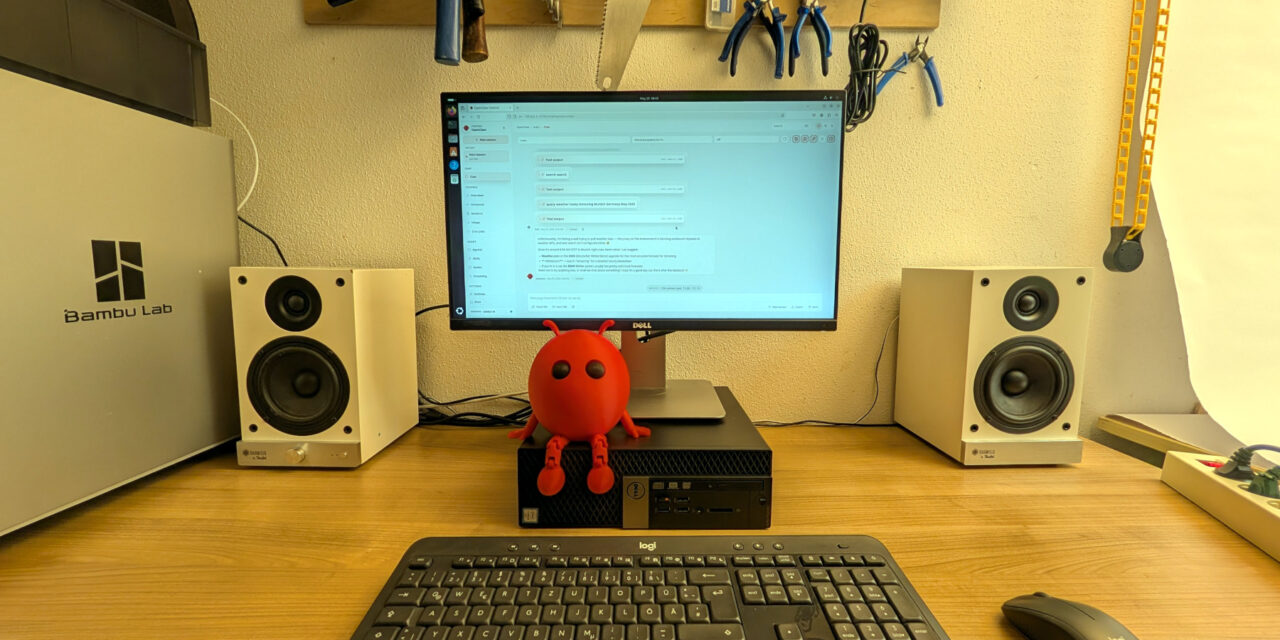
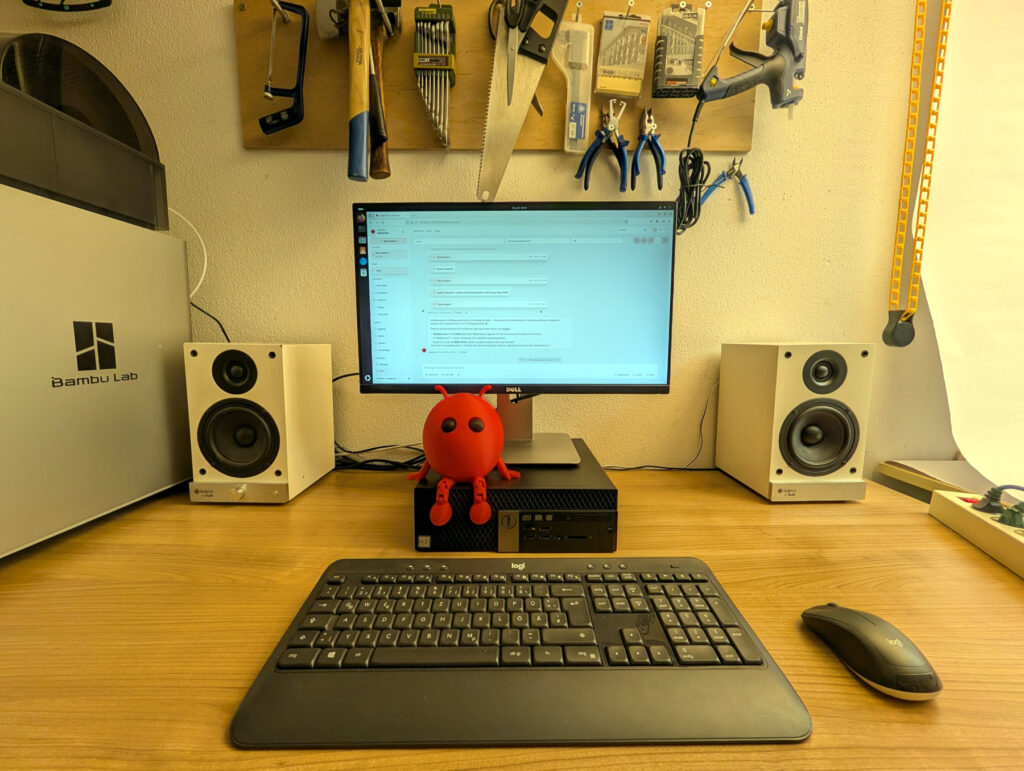
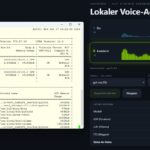
Here’s a picture from my AI workshop showing the NemoClaw / OpenClaw setup on my workshop machine.
NemoClaw AI Workshop
My test hardware: a used Dell OptiPlex 5040
Just so it’s clear what kind of machine I’m setting NemoClaw up on, here’s my setup in a nutshell:
- Dell OptiPlex 5040 – an almost ten-year-old office PC from the used-hardware bin (originally launched in 2015/2016)
- 4 CPU cores
- 32 GB RAM (33.5 GB reported, around 5 % used at idle)
- 8.6 GB swap
- No dedicated GPU – very intentionally so
- Freshly installed Ubuntu 24.04 LTS
The key point for me: this is not an expensive AI workstation. It’s a perfectly ordinary used office PC, the kind you can grab on classifieds platforms today for under 150 euros. That’s the real charm of this setup for me: the heavy inference work is handled by my existing A6000 server, and the OptiPlex is just the lean agent layer on top. Anyone with an inference server in their LAN can build the rest of the stack on minimal, very affordable hardware.
This puts my machine comfortably above the NemoClaw minimum (8 GB RAM, 4 vCPUs) and even above the recommendation (16 GB RAM). I don’t have to worry about the OOM killer during the image push, and with 32 GB RAM I have plenty of headroom to run additional container workloads in parallel later on.
What is NemoClaw all about?
Before we get started, a quick look at the architecture. Once you’ve understood the concept, you’ll save yourself a lot of confusion during the onboarding wizard.
NemoClaw consists of several layers:
- OpenClaw: the actual agent that answers questions, calls tools, and gets work done.
- OpenShell: NVIDIA’s sandbox runtime in which OpenClaw runs. It provides isolation, network policies, and capability drops.
- NemoClaw: the layer on top, also provided by NVIDIA, that handles onboarding, inference routing, provider management, and security policies.
What’s important for our setup: the agent in the sandbox internally always talks to the address inference.local. The OpenShell gateway intercepts this traffic on the host and forwards it to the provider we chose during onboarding. That means the sandbox never sees my real Ollama address 192.168.2.57. The API key also stays on the host. That’s a clean security path.
Prerequisites
Before we dive in, a few things that need to be in place:
- Ubuntu 24.04 LTS, freshly installed
- At least 8 GB RAM (better 16 GB), 20 GB of free disk space (better 40 GB), 4 vCPUs
- A running Ollama server in the LAN that the NemoClaw host can reach
- An OpenAI-compatible API endpoint on that Ollama server (in my case
http://192.168.2.57:11434/v1) - Sudo rights on the Ubuntu machine so we can install Docker
One important note up front: NemoClaw is alpha software. The README states this openly, and that’s still true in May 2026. Interfaces, flag names, and the look of the onboarding wizard can change without warning. What I’m showing you here is the state at the time of my installation. If you reproduce this a few weeks later, some steps may look slightly different.
Phase 0: Prepare the system and check reachability
First let’s bring the Ubuntu system up to date and install a few basic tools:
Command: sudo apt update && sudo apt upgrade -y
Command: sudo apt install -y curl git ca-certificates gnupg lsb-release
Now the reality check: is my Ollama server actually reachable from the new host? I never skip this step. It’s not worth setting up NemoClaw if the inference path won’t work later.
Command: curl http://192.168.2.57:11434/v1/models
If I get back a JSON response with my model list, the network path is clear. If not: check the firewall, start Ollama with OLLAMA_HOST=0.0.0.0, verify routing in the LAN – and only continue when the response comes back cleanly.
Phase 1: Install Docker
NemoClaw requires Docker as its container runtime. On Ubuntu 24.04 the clean path is the official Docker apt repository. First place the GPG key:
Command: sudo install -m 0755 -d /etc/apt/keyrings
Command: curl -fsSL https://download.docker.com/linux/ubuntu/gpg | sudo gpg --dearmor -o /etc/apt/keyrings/docker.gpg
Command: sudo chmod a+r /etc/apt/keyrings/docker.gpg
Then add the Docker repository. If you copy the command below, you have to remove the \ characters and use a single space instead, otherwise you’ll get an error:
echo "deb [arch=$(dpkg --print-architecture) signed-by=/etc/apt/keyrings/docker.gpg] \
  https://download.docker.com/linux/ubuntu $(lsb_release -cs) stable" | \
  sudo tee /etc/apt/sources.list.d/docker.list > /dev/null
And finally install the Docker packages:
Command: sudo apt update
Command: sudo apt install -y docker-ce docker-ce-cli containerd.io docker-buildx-plugin docker-compose-plugin
So I can use Docker without sudo later on, I add my user to the docker group and pick up the new group membership in the current shell:
Command: sudo usermod -aG docker $USER
Command: newgrp docker
To wrap up, a quick test:
Command: docker run --rm hello-world
If the Hello-World output appears, Docker is running and we can move on to NemoClaw.
Phase 2: Run the NemoClaw installer
Before I launch the installer, I set the API key environment variable that NemoClaw expects for the “Other OpenAI-compatible endpoint”. Ollama itself doesn’t need a real key, but the field has to be filled according to the docs. I pick a self-describing dummy value:
Command: export COMPATIBLE_API_KEY=ollama
In my case the first installation attempt failed because the binutils package was missing on my freshly installed Linux.
Command: sudo apt install -y binutils
Now the main step. The installer takes care of the Node.js installation via nvm and installs NemoClaw via npm, all in the user home no sudo needed here:
Command: curl -fsSL https://www.nvidia.com/nemoclaw.sh | bash
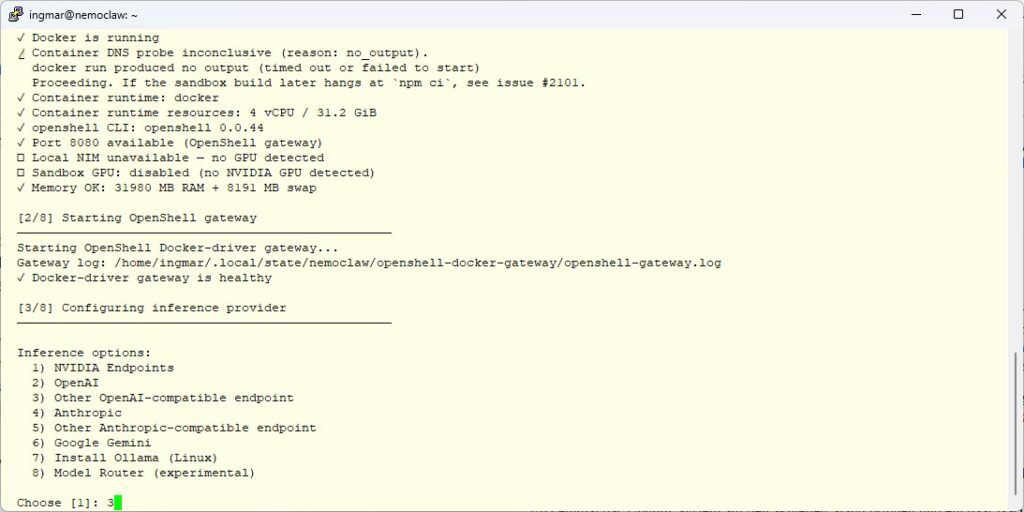
The interactive wizard now walks me through several decisions. On a machine without a GPU, the wizard offers me the standard provider list. Here I have to be careful to pick the right option and that’s not “Local Ollama”, because according to the docs this option is explicitly only meant for an Ollama running on localhost:11434 on the same machine.
Instead I pick:
- Option 3: Other OpenAI-compatible endpoint
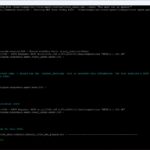
NemoClaw – Inference Provider setup
The wizard then asks for two things:
- Base URL:
http://192.168.2.57:11434/v1 - Model name: an exact slug from
ollama liston my inference server. For the first test I go withqwen3.6:27bbecause it’s a small, fast model with tool-calling support. Larger models likeqwen3.6:35bcome later, once the chain is stable.
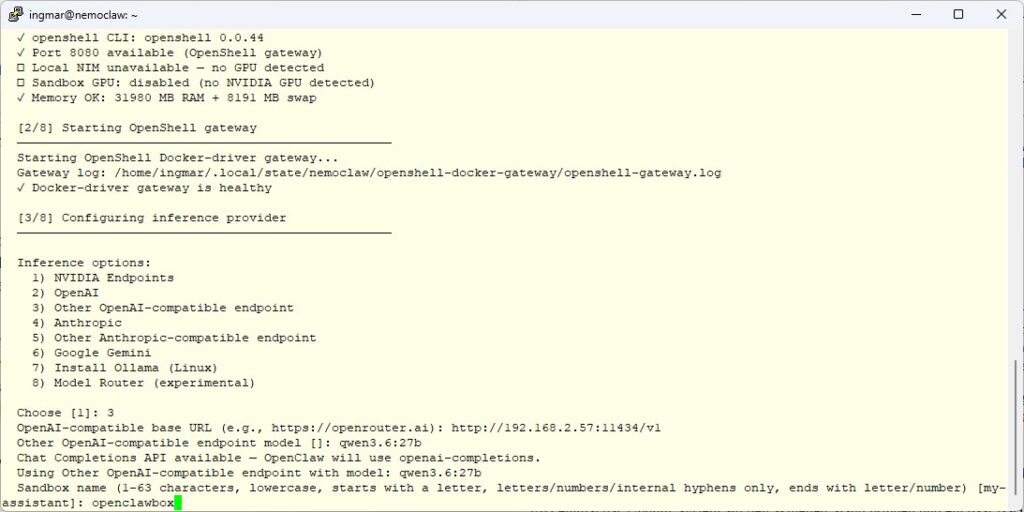
NemoClaw validates the endpoint immediately by sending a real inference request through the entire chain. After that I picked openclawbox as the sandbox name.
NemoClaw – sandbox name
At the end of the onboarding I see a summary block with the sandbox name and the chosen model. That’s the base installation done.
Actual disk footprint (measured): The NemoClaw CLI itself takes up around 3.3 GB on my machine (Node.js, npm dependencies, OpenShell binaries). The actual OpenClaw sandbox image is only pulled on the first nemoclaw onboard and adds another roughly 10–12 GB. So plan on about 15 GB of disk usage in total, plus headroom for logs and updates.
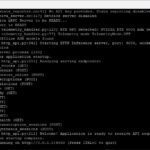
After the installation and configuration I got the following output.
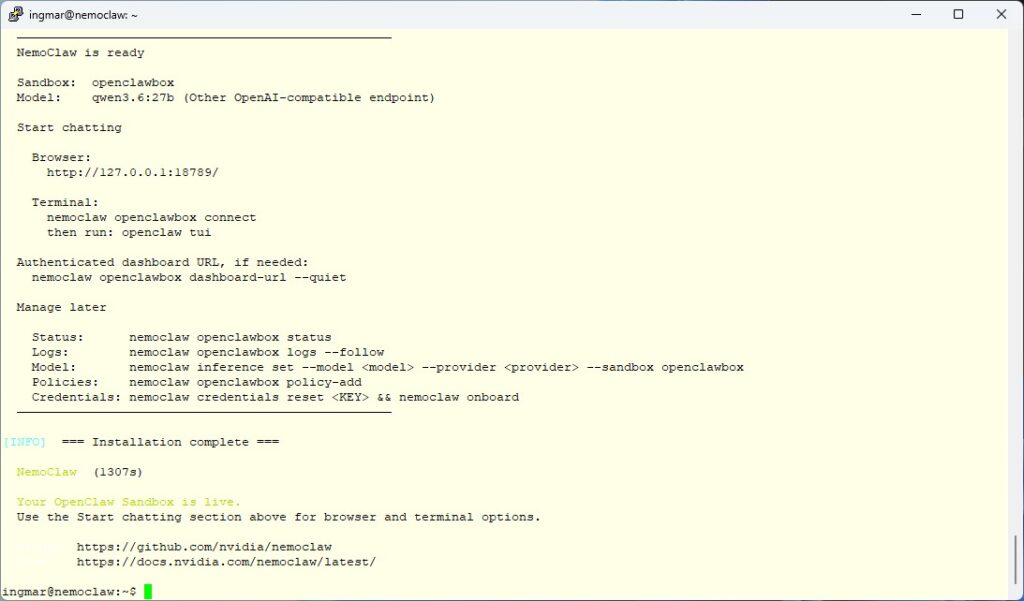
NemoClaw ready to run
If everything worked so far, I recommend also setting the COMPATIBLE_API_KEY variable permanently in your shell. Otherwise non-interactive operations like nemoclaw openclawbox rebuild --yes will fail later with a message that the API key is missing. You can do this with the following two commands:
Command: echo 'export COMPATIBLE_API_KEY=ollama' >> ~/.bashrc
Command: source ~/.bashrc
Phase 3: Talking to the agent for the first time
Now for the exciting moment: does the whole chain work? After onboarding finishes, NemoClaw shows me right in the terminal how to talk to the agent. There are two ways: through the browser, or through the terminal.
Preparation – is the sandbox running?
Right after the onboarding wizard, the sandbox is active and the OpenClaw gateway is ready. So you can get started right away. If you’ve rebooted in the meantime, closed the terminal, or left the sandbox with exit, you need to bring the sandbox back up before the next step. You do that with the following command:
Command: nemoclaw openclawbox connect
This boots up the OpenShell gateway, and the OpenClaw gateway inside the sandbox is started. After the command you land in the sandbox prompt sandbox@xxxx:~$. In the text below I’ll introduce two options for how you can work with NemoClaw.
For Option A (“Browser”) you leave the sandbox immediately with exit. The dashboard port forward on 127.0.0.1:18789 stays active and the browser access works on the OpenClaw host system.
For Option B (“Terminal”) you stay inside the sandbox and type openclaw tui directly to start the text input, i.e. the text-mode interface.
The detailed reboot routine you need when the whole OpenClaw host has been restarted comes further down in the section “After a reboot”.
Option A: Browser (the most convenient)
NemoClaw starts a local web interface and prints the URL directly in the terminal:
URL: http://127.0.0.1:18789/
Open this URL in the browser on the NemoClaw host. You’ll now be asked for an auth token, which you need for security reasons so that not just anyone on the network can use your OpenClaw. The browser window should now look like this.
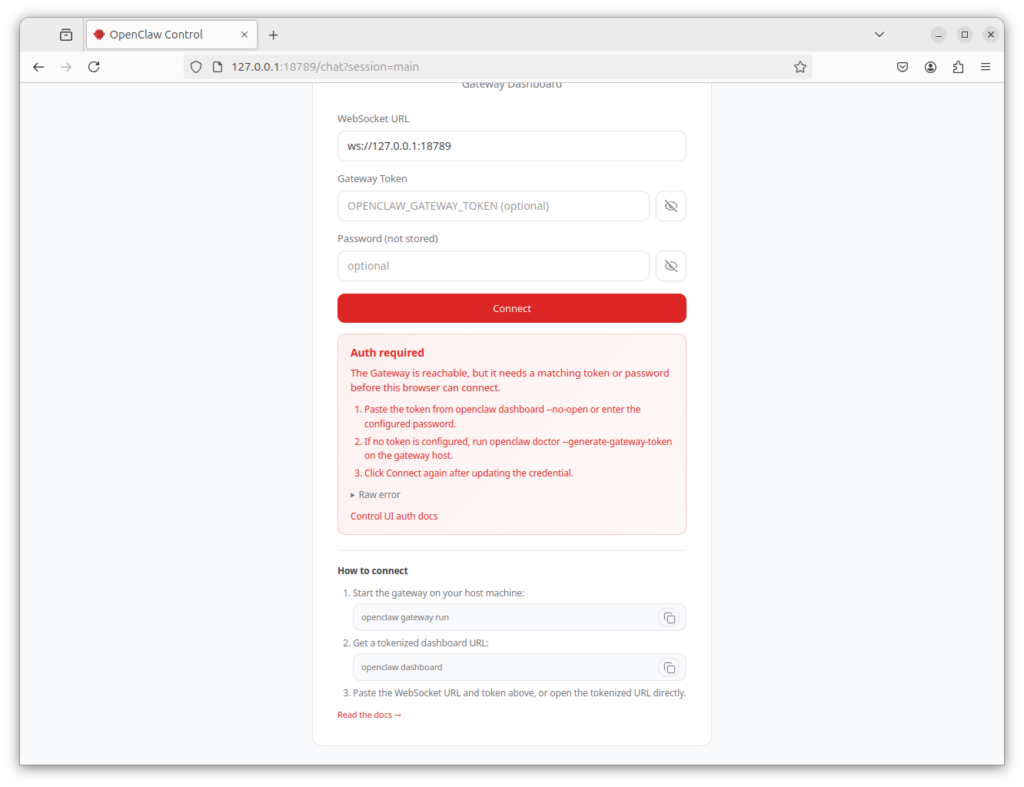
OpenClaw Auth-Token Browser UI
The token you need now sits in the file /sandbox/.openclaw/openclaw.json inside the sandbox. With the following command you can display it:
Command: grep -A 3 "auth" /sandbox/.openclaw/openclaw.json
The output in my terminal looked like this:
sandbox@1841e00e8875:~$ grep -A 3 "auth" /sandbox/.openclaw/openclaw.json
    "auth": {
      "token": "eJ6AjBbDC85w1se6YLjTx6tpie3bDrTV4Lcs_2x8JOM"
    }
  },
Once you’ve copied the token (in my case it’s eJ6AjBbDC85w1se6YLjTx6tpie3bDrTV4Lcs_2x8JOM), paste it into the browser’s “Gateway Token” field and click Connect. That drops you straight into the OpenClaw chat frontend. It then looks like the picture below.
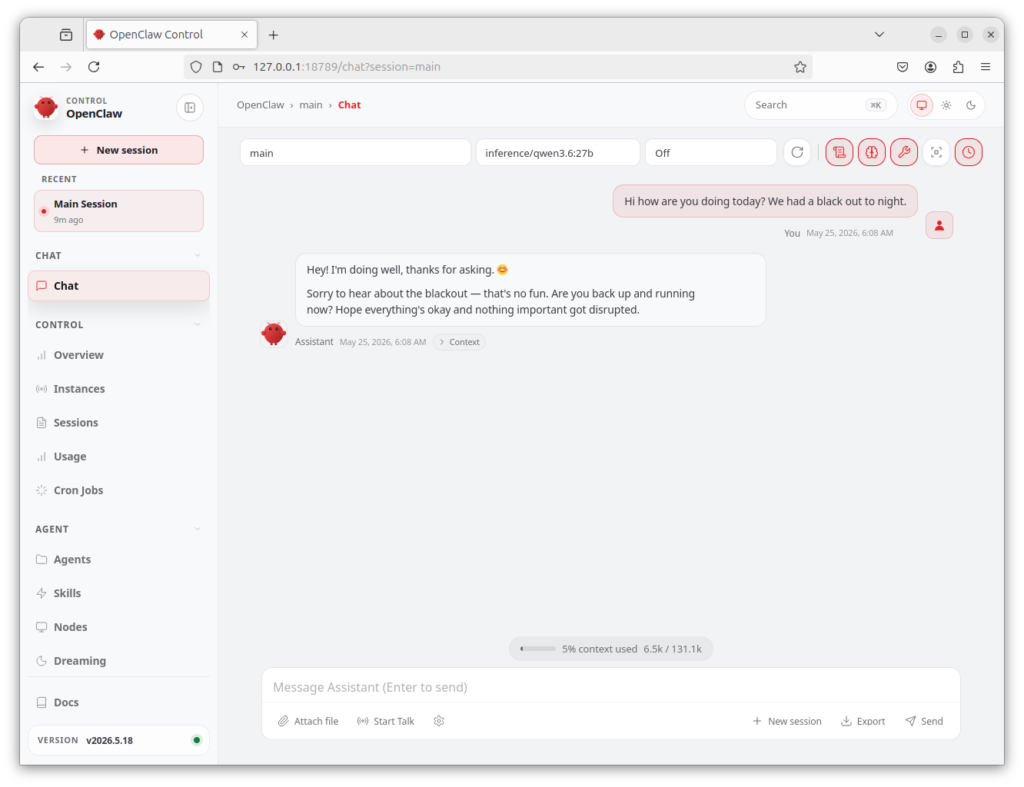
OpenClaw Web Frontend
The browser remembers the token for the current session. As long as you don’t close the tab or clear the browser storage, you don’t have to re-enter the token. The token itself stays stable too – even after a host reboot or stop/connect cycles. Only a nemoclaw openclawbox rebuild would generate a new token.
Access from the LAN: SSH tunnel from your work machine
If I want to access the dashboard from another machine on the network – for example from my Windows workstation – simply calling http://127.0.0.1:18789/ on the work machine of course doesn’t work, because there’s no NemoClaw running there. The NemoClaw dashboard port on the host is also bound only to loopback by default. For security reasons that makes a lot of sense.
According to the docs, setting the environment variable NEMOCLAW_DASHBOARD_BIND=0.0.0.0 before nemoclaw connect should be enough to expose the dashboard to the LAN. In my installed version that didn’t work – the port stayed bound to 127.0.0.1. I then tried to bend the forward manually using openshell forward start --background 0.0.0.0:18789 openclawbox. That does open the port to the LAN, but it has an annoying side effect: the manually set up forward blocks the port that the internal OpenClaw gateway inside the sandbox wants to use itself. So we end up in a dead end.
The clean and reliable way to get LAN access is therefore: an SSH tunnel from the work machine to the NemoClaw host. This leaves the loopback bind on the NemoClaw host untouched, and the browser on my Windows machine sees the dashboard as if the connection were coming in over the loopback interface.
Step 1: Provide an SSH server on the NemoClaw host. If that’s not in place yet, I install the OpenSSH server on the OptiPlex:
Command: sudo apt install -y openssh-server
Command: sudo systemctl enable --now ssh
Step 2: Set up an SSH tunnel from the work machine. On my Windows machine I open a PowerShell and run the following command. You’ll obviously need to adapt this so that username and IP address match your NemoClaw host:
Command: ssh -L 18789:127.0.0.1:18789 ingmar@192.168.178.142
This sets up a local tunnel: requests on my Windows machine to 127.0.0.1:18789 are forwarded through the SSH connection to the NemoClaw host, where they arrive on 127.0.0.1:18789. From the dashboard’s point of view, the connection comes in over loopback – just as if I were sitting directly at the NemoClaw host.
Step 3: Open the browser on the work machine. In the browser on my Windows machine I now call up exactly this IP address and port:
URL: http://127.0.0.1:18789/
The auth screen appears here as well – after all, the browser on the Windows machine is a different browser from the one on the OptiPlex and doesn’t yet know the token. I enter the same gateway token I read earlier from /sandbox/.openclaw/openclaw.json, click Connect, and land in the chat frontend. As long as the SSH connection stays open, access keeps working.
Bonus: The connection is encrypted by SSH. That makes the access safe even on untrusted Wi-Fi networks. I can use the same SSH tunnel command from the road over my VPN, as long as the NemoClaw host is reachable via SSH.
Pitfall when the NemoClaw host has been reinstalled: SSH stores the server’s host key in known_hosts on first connect. If you reinstall the host, that key changes, and SSH refuses the connection with the warning “REMOTE HOST IDENTIFICATION HAS CHANGED!”. That’s good security behavior – but in our case completely harmless, because we reinstalled the host ourselves. I remove the old entry with the following command on the work machine:
Command: ssh-keygen -R 192.168.178.142
The next ssh -L call then cleanly asks for the new host key, and I confirm with yes.
Option B: Terminal (for the maker soul)
I connect to the sandbox. What’s important here is the sandbox name you assigned during onboarding. In my case it’s openclawbox (which is the default if you don’t enter anything else):
Command: nemoclaw openclawbox connect
This drops me into the sandbox shell. From there I start the OpenClaw TUI:
Command: openclaw tui
When the TUI starts up and I can send a message that’s actually answered by my Ollama on 192.168.2.57, the whole chain is in place: Sandbox → OpenShell gateway → Ollama → model response → back through the chain.
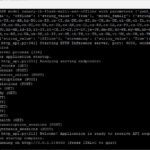
In my case everything worked, my inference server was contacted, the LLM was loaded as expected, and the first tokens for NemoClaw were generated.
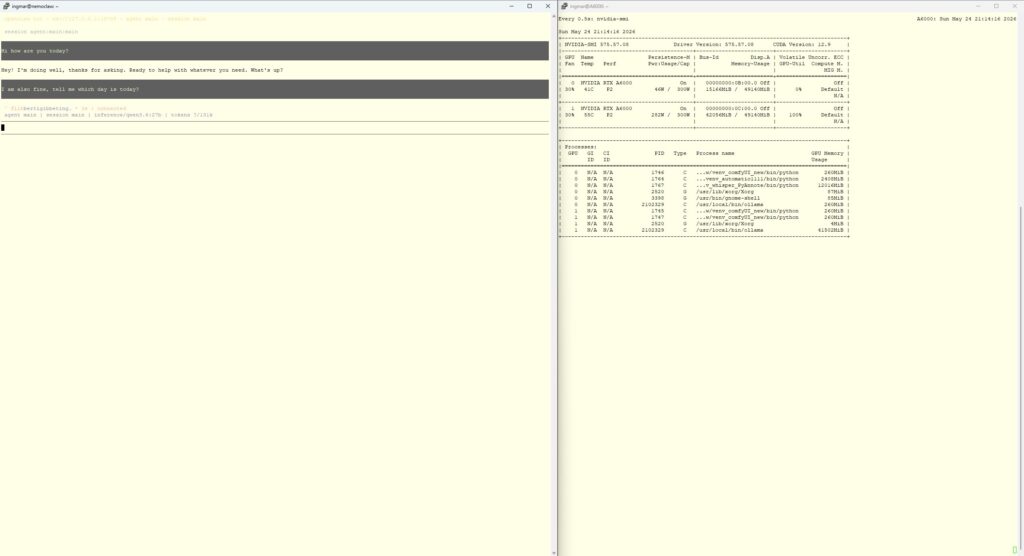
NemoClaw running and inferencing
After a reboot: bringing NemoClaw back up
One thing that hit me right after the first reboot of the OptiPlex: NemoClaw doesn’t come back up automatically after a host reboot. Docker itself does come back as a systemd service, but the OpenShell gateway and the sandbox container have to be brought back online manually.
Symptom: When I try to connect to the sandbox or check the forward right after the reboot, I get a Connection refused error. The gateway isn’t answering because it’s simply not running. The fix is simple but manual. I have to restart the sandbox with the connect command:
Command: nemoclaw openclawbox connect
NemoClaw detects on its own that the sandbox needs to be restarted, and tells me so directly: “OpenClaw gateway is not running inside the sandbox (sandbox likely restarted). Recovering…”. The OpenShell gateway is brought up, the sandbox container is started, the OpenClaw gateway inside the sandbox is initialized, and in the end I land automatically in the sandbox prompt. At its core this is the same routine as the preparation at the start of Phase 3 – just from a completely cold state.
So my typical workflow after a reboot consists of three small steps:
nemoclaw openclawbox connecton the host – the sandbox boots up and I land directly in the sandbox prompt.- With
exitI leave the sandbox shell and am back on the host. The dashboard forward on127.0.0.1:18789stays active. - From the work machine I now open an SSH tunnel to the NemoClaw box:
ssh -L 18789:127.0.0.1:18789 ingmar@192.168.178.142. Once the SSH tunnel is up, I can callhttp://127.0.0.1:18789/in the browser on my work machine and see the OpenClaw web UI.
This is doable, but not ideal for a maker workflow. In a follow-up post I’ll turn this into a systemd service that brings NemoClaw up automatically when the OptiPlex boots. Then a press of the power button is all it takes the SSH tunnel from the work machine still has to be set up – and the dashboard is reachable in the browser. All without further manual steps on the host, while still respecting NemoClaw’s security model.
Status, logs, switching models
NemoClaw shows the most important management commands right at the end of the installation, the ones that become relevant for me later on:
- Check status:
nemoclaw openclawbox status - Follow logs:
nemoclaw openclawbox logs --follow - Switch model (without re-onboarding):
nemoclaw inference set --model <model> --provider <provider> --sandbox openclawbox - Adjust network policies:
nemoclaw openclawbox policy-add
These are exactly the commands I’ll use later to switch between my Ollama models and to allow the sandbox to talk to additional endpoints.
What’s next?
With this setup I now have a sandboxed OpenClaw instance on a lean Ubuntu machine that uses my existing Ollama server as its inference backend. Several interesting follow-up experiments become possible from here, and I’ll be tackling them step by step in upcoming posts:
- Automatic startup at boot: Right now I have to manually bring the sandbox up after every reboot. In the next post I’ll turn this into a systemd service that starts NemoClaw automatically at boot.
- Switching models without re-onboarding: The NemoClaw docs point to
nemoclaw inference setas the mechanism to change the model at runtime. I’ll work my way throughqwen3.6:27b,nemotron3:33b, andqwen3.6:35band compare tool-calling behavior and response times. - Adjusting network policies: NemoClaw ships with restrictive egress rules. I’m curious how I can allow the sandbox to talk to my own MCP server (192.168.2.57:8765) that would be the bridge between NemoClaw and my existing GPU monitoring infrastructure.
- Trying out the Model Router: NemoClaw’s experimental Model Router routes queries to different models in a pool depending on query complexity. Conceptually this is exactly what I need for efficient LLM use in my workshop.
My personal takeaway
What convinces me about NemoClaw: it’s not just a NVIDIA cloud play. On the contrary the concept of “sandbox plus a generic OpenAI-compatible backend” fits surprisingly well with the idea of sovereign AI in your own workshop. I get to use NVIDIA’s sandboxing benefits while keeping my own inference. No cloud API, no API key with a third party, no cloud subscription. My Ollama server remains the heart of the stack; NemoClaw is the layer on top.
In the next post I’ll share my first hands-on experiences with the running system: How does the sandbox react to different models? What do response times look like when the request goes over two hops (NemoClaw host to Ollama server)? And most importantly: can I get the sandbox to talk to my own MCP server?
Until then: good luck building this yourself, and feel free to drop me a line in the comments.
See you in the next part!




The tutorial offers a clear and practical guide for setting up and running the Tensorflow Object Detection Training Suite. Could…
This works using an very old laptop with old GPU >>> print(torch.cuda.is_available()) True >>> print(torch.version.cuda) 12.6 >>> print(torch.cuda.device_count()) 1 >>>…
Hello Valentin, I will not share anything related to my work on detecting mines or UXO's. Best regards, Maker
Hello, We are a group of students at ESILV working on a project that aim to prove the availability of…